
Virtual Home Lab - part 3
After the introductory first article and the second in which we saw Proxmox, in today’s third episode we will see the solution based on VMware ESXi.
Let’s proceed with the installation using the following configuration:
- keyboard and mouse (rear USB ports)
- USB stick with Ventoy (front USB port)
- HDMI video cable
- network cable connected to the 2.5Gbps Ethernet port
PROBLEM 1: Once the setup has begun we immediately face an error screen titled “No Network Adapters”.
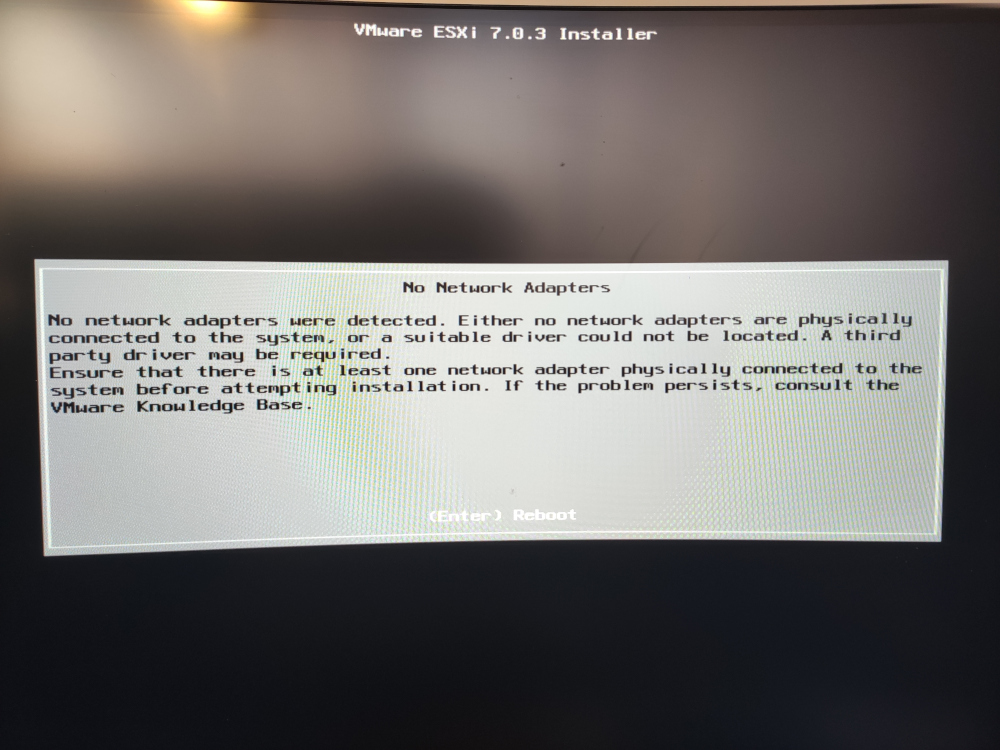
Same result when trying to change the network port and use the 1Gbps one.
In particular, as highlighted in this article “Homelab considerations for vSphere 7” the problem seems
caused by the support drop of legacy driver VMKlinux.
This is a potentially problematic choice for many “home” solutions, based on non-certified hardware and perhaps using network cards with Realtek chipset.
That said, the choice is extensively described also in the official VMware blog in this post “What is the Impact of the VMKlinux Driver Stack Deprecation?”.
Here below a bunch of online references related to the problem:
- ESXi on HX90 (No Network Adapter Detected): official forum thread related to the MinisForum HX90, another mini pc a bit more powerful than my HM80, but with a similar configuration;
- Cannot find driver for Intel® Ethernet Controller i225-V to install esxi7.0U2a on NUC11PAHi5: thread on the lack of drivers for the Ethernet Intel i225-V controllers;
- ESXi on AMD Ryzen based ASUS PN50: ESXi installation blog post with details on the problems found on a ASUS PN50 machine. Yet another mini pc equipped with an AMD Ryzen CPU.
The suggested solution is to use an Ethernet USB adapter in order to have at least one network interface properly displayed. Personally, I used this device. I bought it in 2016 and it was mainly used with a (now) old MacBook Pro.
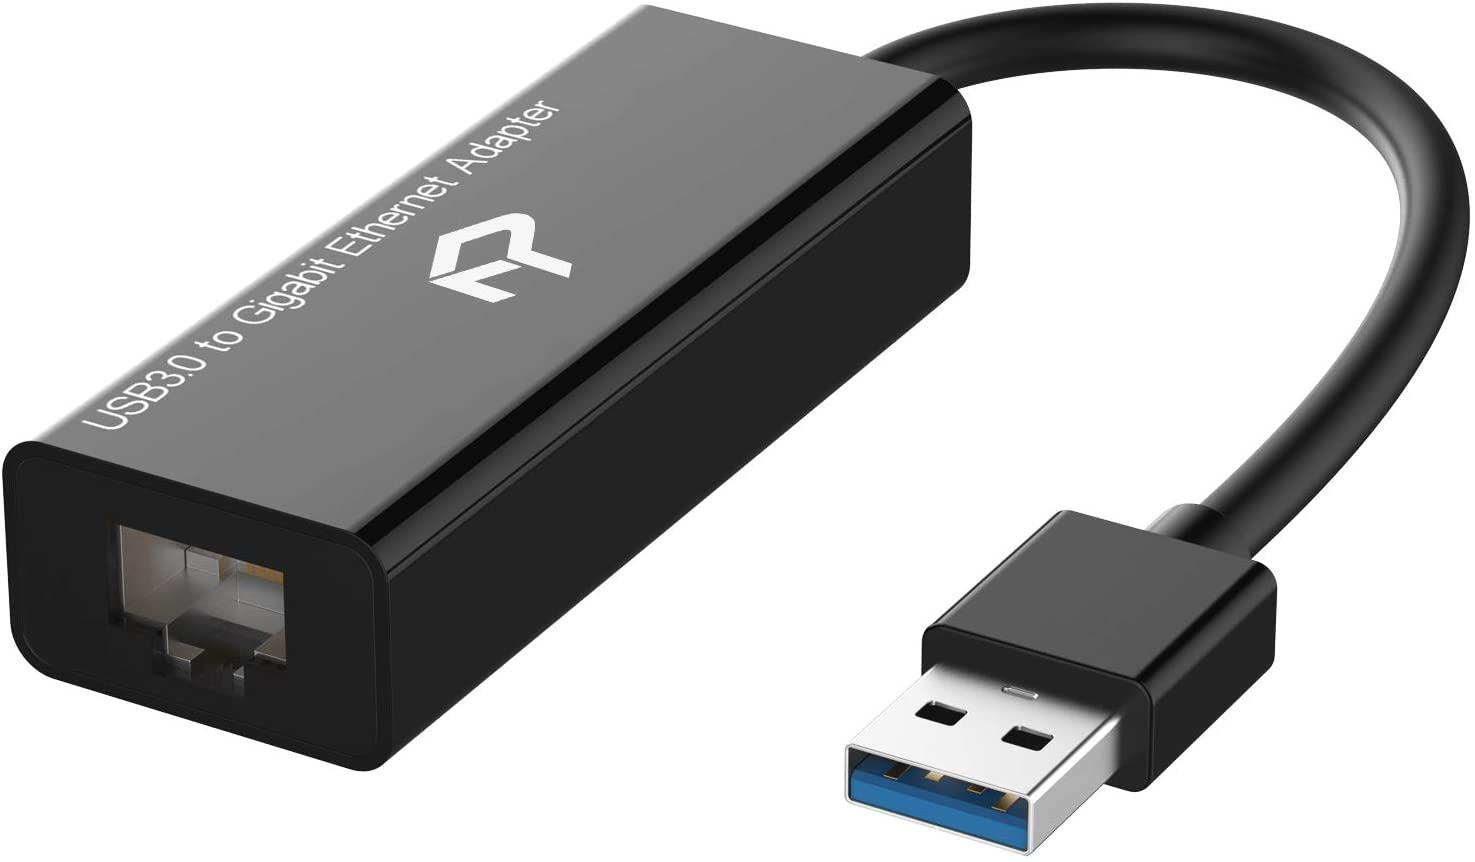
Once connected the adapter, on the other USB frontal port, and the network cable I proceeded installing VMware ESXi 7 following the steps:
- Welcome Screen
- EULA Agreement
- Installation disk (the 500GB Kingston drive installed by default)
- Keyboard layout (US Default)
- root password setup
- Installation confirmation with disk erase and partitioning
PROBLEM 2: The installation suddenly stops at 81%.
As reported in the blog post “Solution: ESXi Installation with USB NIC only fails at 81%”,
the problem source should be the inability for the installer to assign an USB interface (usually “vusb#”) as default one for the system management.
It is probably expecting a device named “vmnic#”.
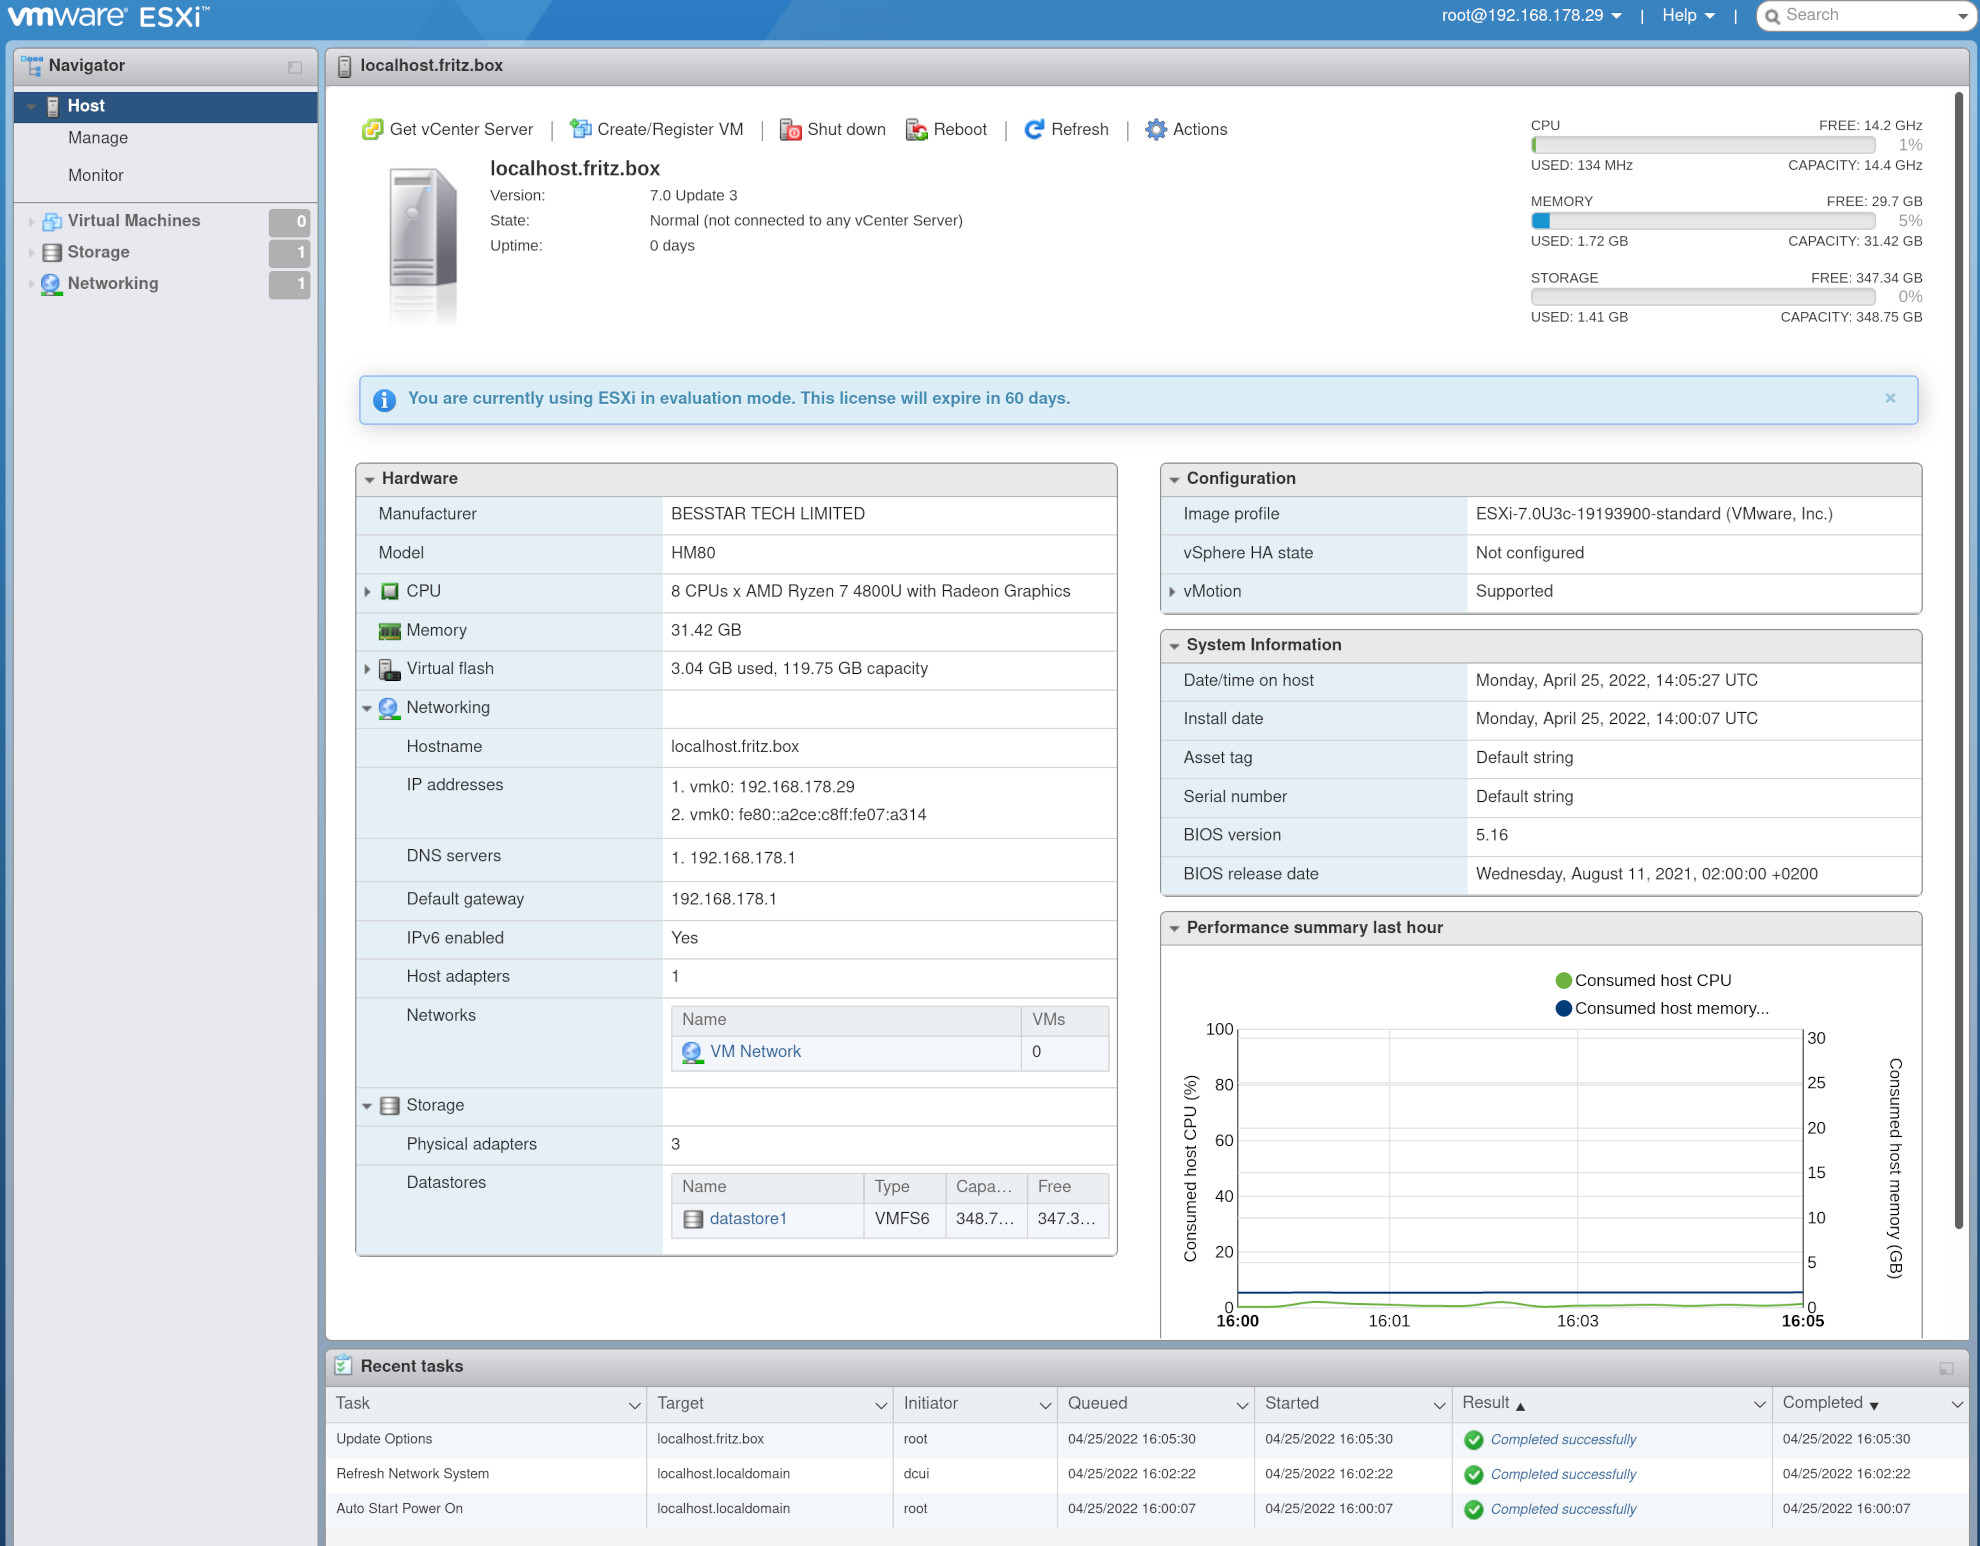
Despite the error, the system has been installed even if some settings (i.e. root password) are not persisted. After restarting the system, let’s use the F2 key to access the configuration. An empty password is enough for the root user. We can now use the menu item “System Customization > Network Restore Options > Restore Network Settings”. Once back in the summary, we will finally see a valid IP address to which we can connect using the browser.
PROBLEM 3: This trick is not 100% working because after every reboot we will have to repeat the steps.
The network configuration is not persisted and we will see again the IP 0.0.0.0.
Even trying to use a static IP or selecting the vusb0 interface as default adapter from the ESXi console (via “System Customization > Configure Management Network > Network Adapters”) does not solve the issue.
The device appears as unselected after each reboot.
The default drivers already installed, the cdce ones, unfortunately seem to be not enough. We have to fall back on these Community version drivers USB Network Native Driver for ESXi. After uploading them on the server using the “Datastore browser”:
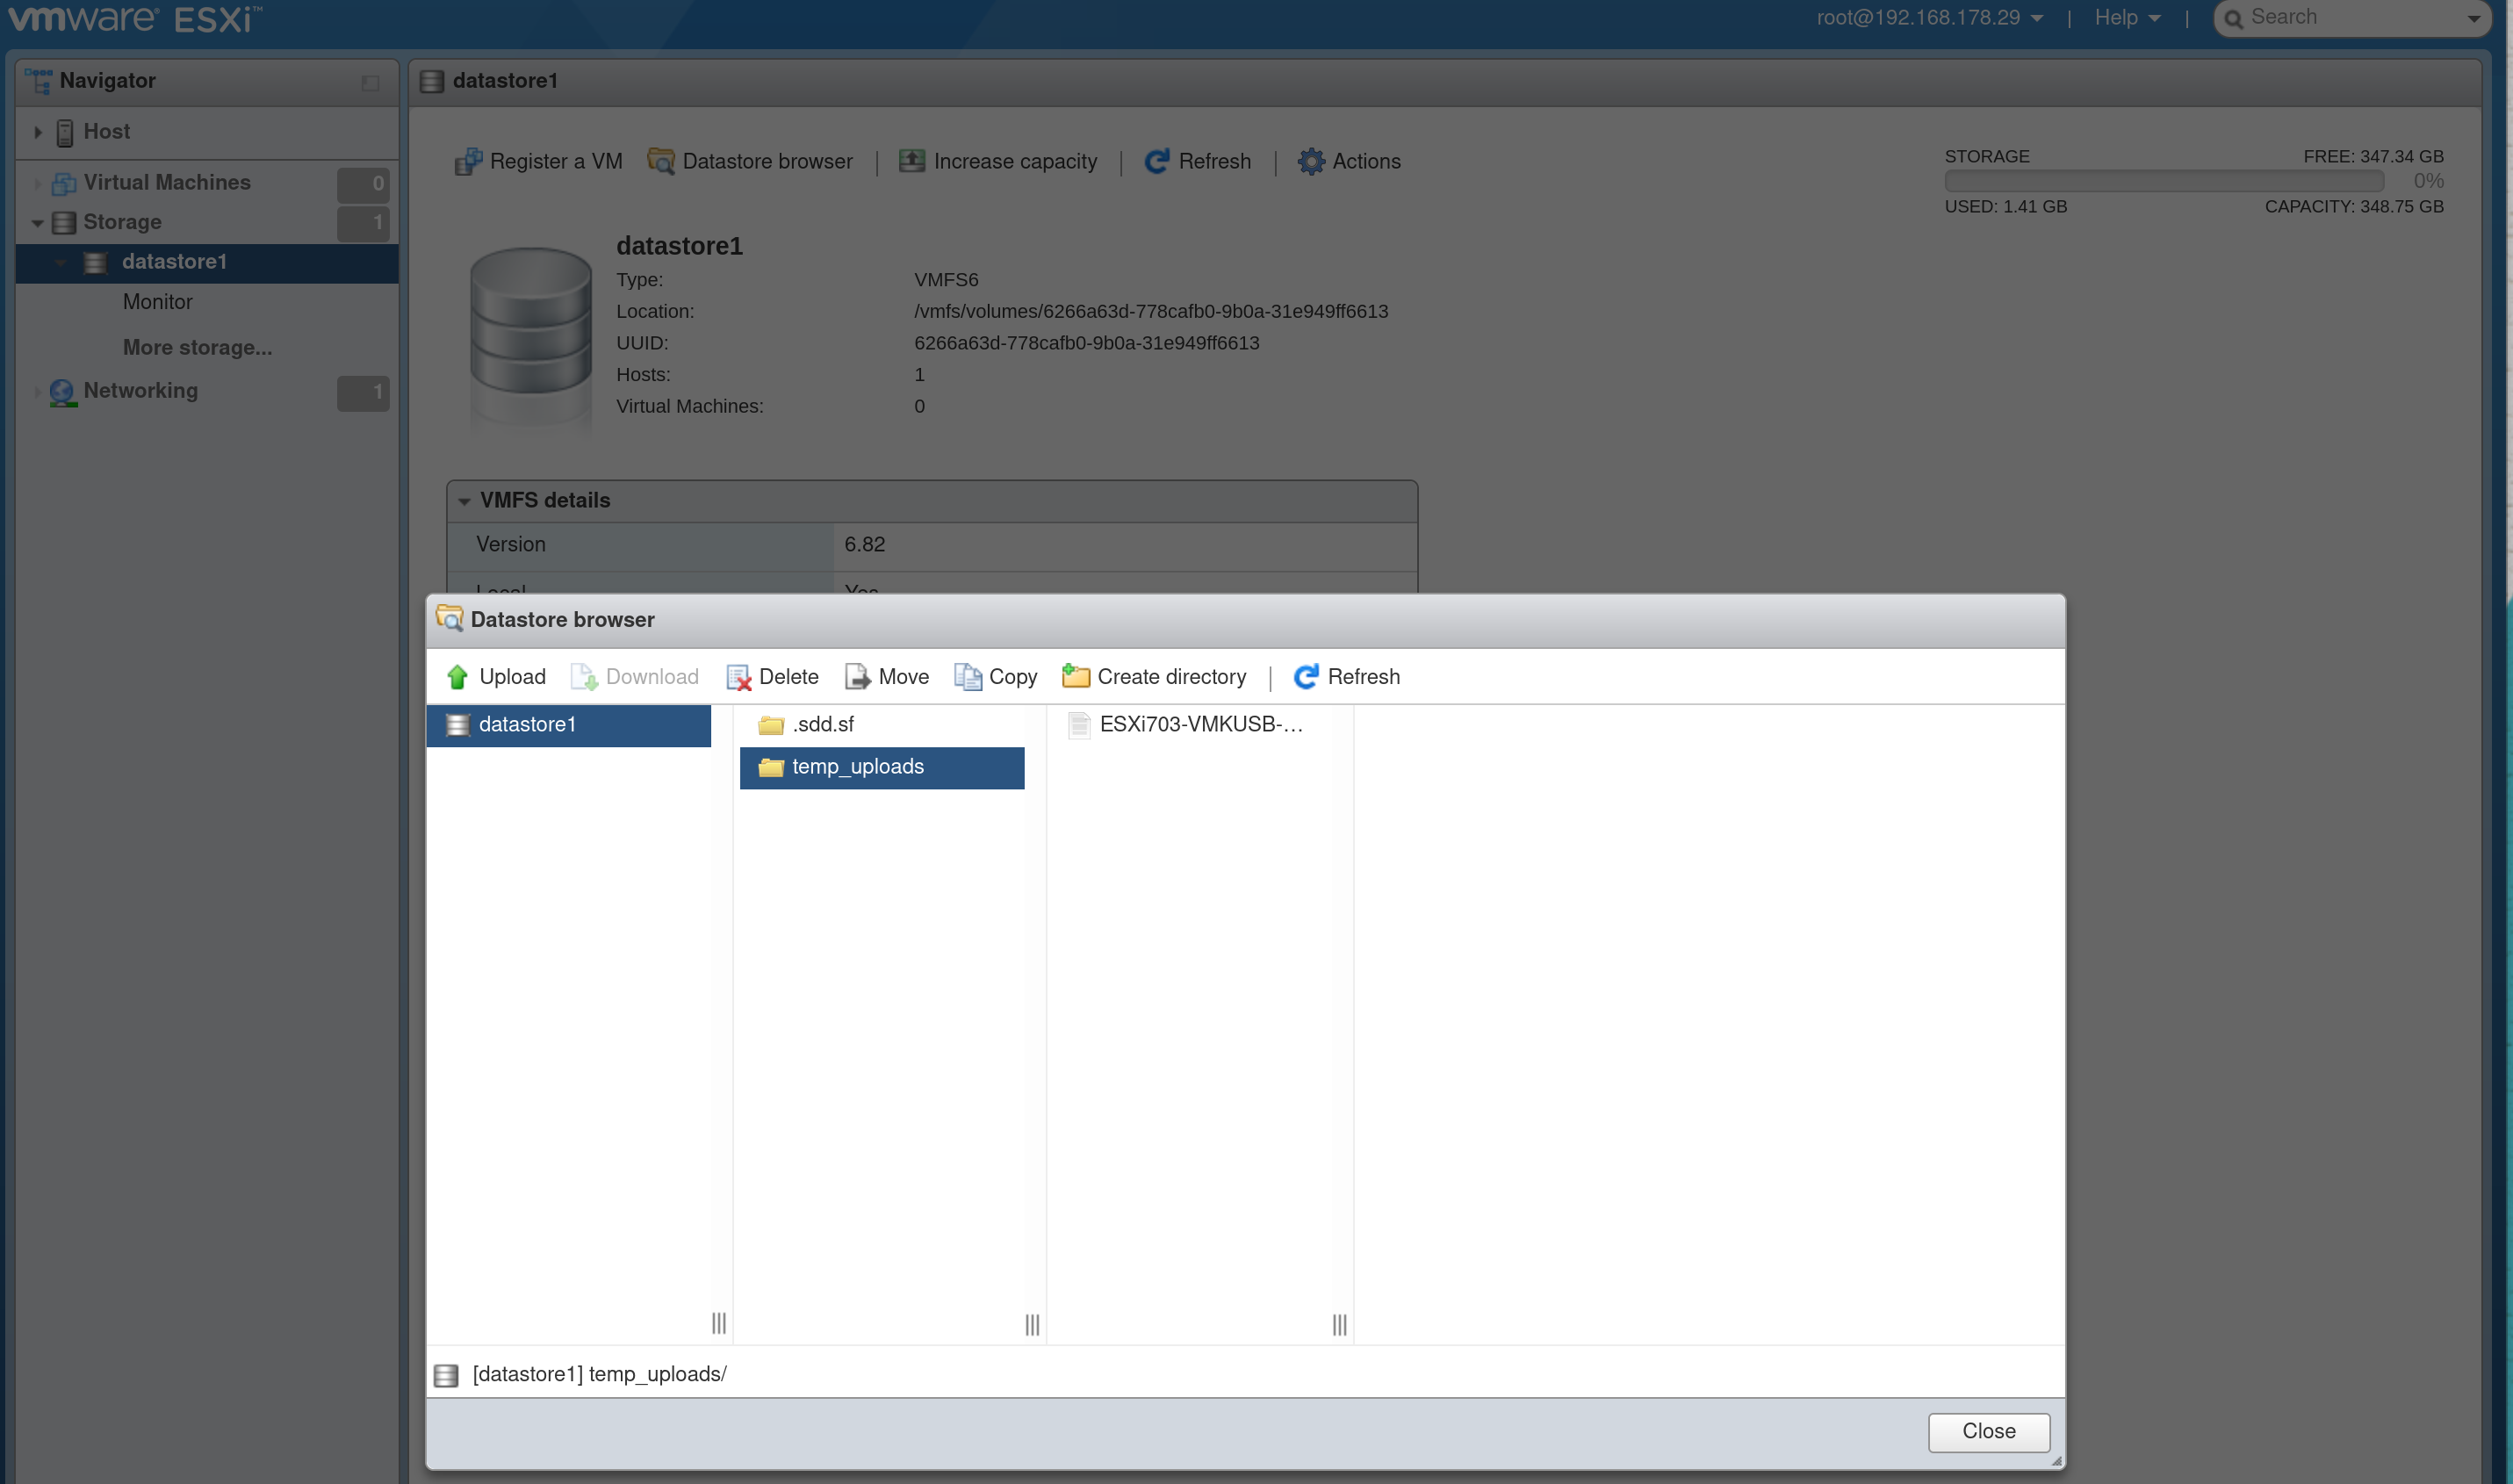
we follow the installation instructions to have them properly functioning.
First, we need to enable the console shell or at least the ability to connect via SSH using the proper menu:
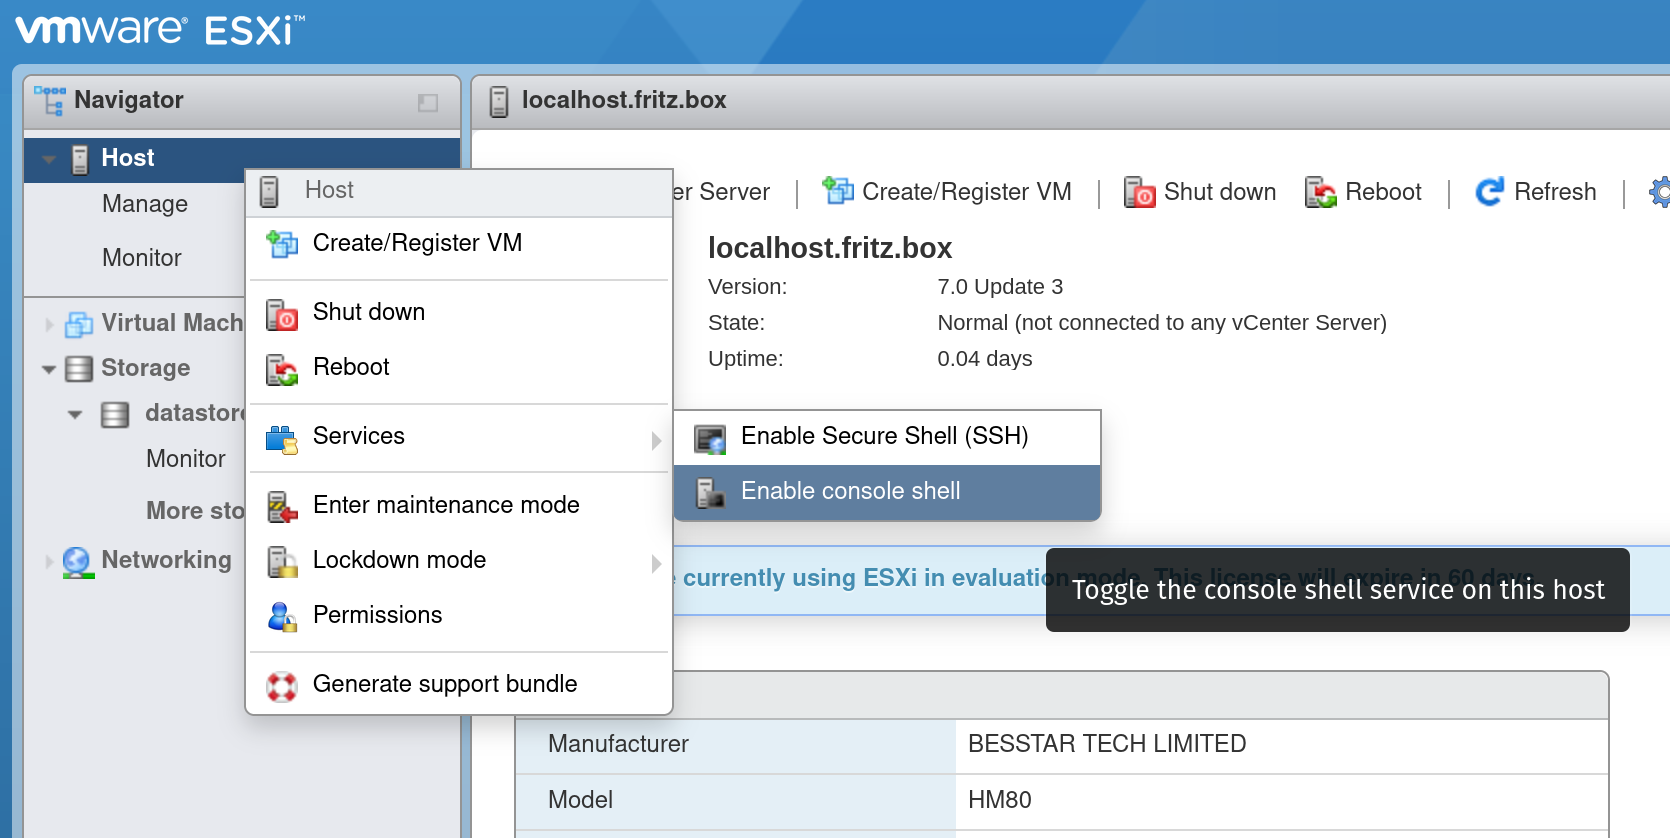
Once done, we can now either access via SSH or using the ESXi console (ALT+F1 keys), entering the following commands:
# Enable "Maintenance Mode"
esxcli system maintenanceMode set -e true
# Driver installation
esxcli software component apply -d "/vmfs/volumes/datastore1/temp_uploads/ESXi703-VMKUSB-NIC-FLING-51233328-component-18902399.zip"
# Reboot is requested
reboot
The new driver for the USB adapter is now uther (i.e. Networking > Physical NICs via web) and the IP settings (DHCP or static) are persisted even after a reboot.
Next step, getting rid of the USB adapter and make the 2.5Gbps network card work.
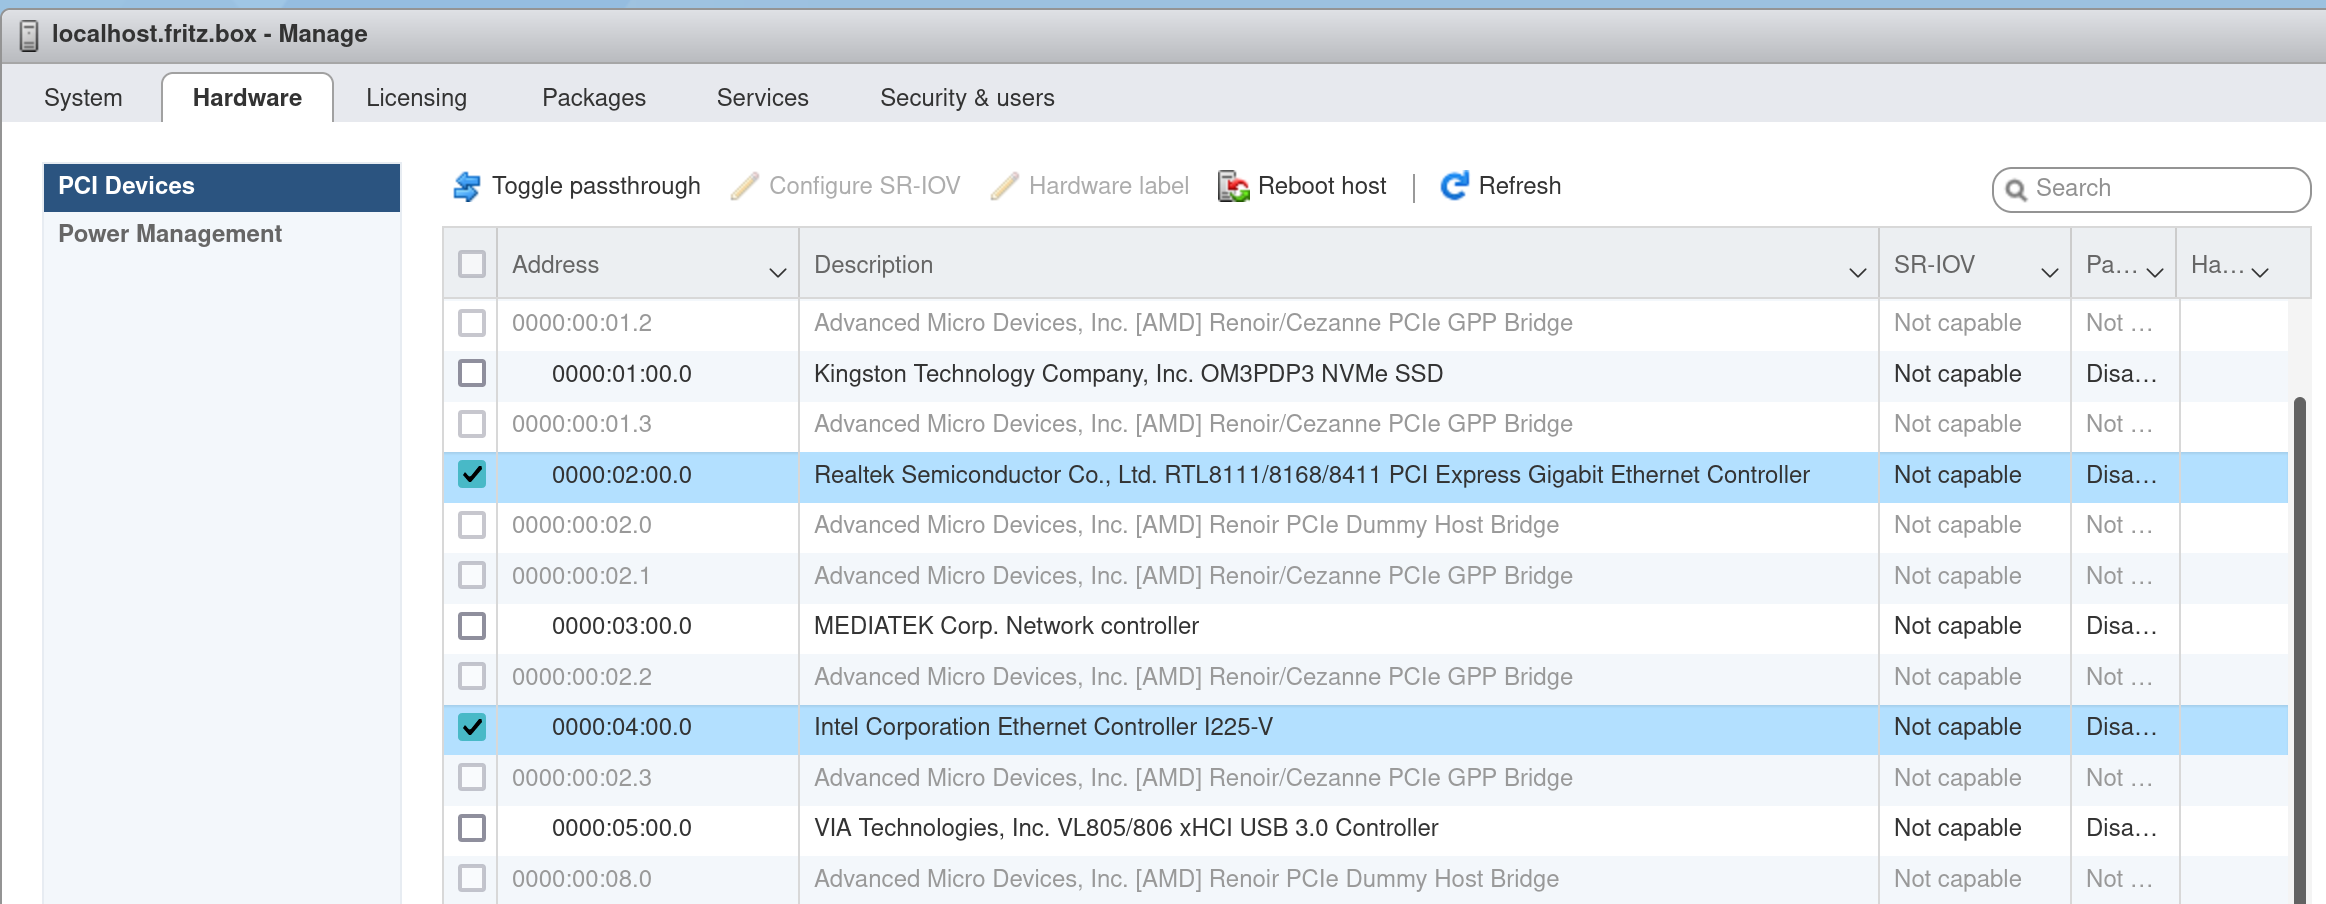
Once again, the community drivers on the Fling VMware portal are crucials. The chipset list contains also our Intel Ethernet Controller I225-V one. As above, we grab and upload the new driver via the web interface. And finally we proceed with the installation.
# Enable "Maintenance Mode", if not active yet
esxcli system maintenanceMode set -e true
# Driver installation
esxcli software component apply -d "/vmfs/volumes/datastore1/temp_uploads/Net-Community-Driver_1.2.7.0-1vmw.700.1.0.15843807_19480755.zip"
# Reboot seems not mandatory, but let's do it just to be sure
reboot
With the network cable connected to the 2.5Gbps port, let’s go back to the configuration mode in System Customization > Configure Management Network > Network Adapters and select the “new” device vmnic0 as default. Let’s confirm the settings and once back in the main menu we should see the updated network details, with a different IP than before. Reboot and double check that everything works still fine, with the settings not being lost.
The system is finally installed and setup, able of creating new virtual machines. Like for the ProxMox article, we will not see here how to create them. Maybe we will address the steps in a future video or tutorial. Before leaving, a bunch of notes:
- remember to setup a proper password for the root account (it is still empty)
- if not already done, “leave” the maintenance mode (via console or web UI)
- remember to install a proper license (free trial is 60 days), even a free one
- the version update 3d is already available, this one we installed is 3c -the official documentation is available on the VMware website
Next article will be also the last one of this series.